🎚️ Limiters or Clippers? The Secret to Louder, Competitive tracks
What’s the difference between a limiter and a clipper? Why do most professional engineers recommend them on the mix bus or master? And how can you use them without killing your dynamics?
In this post, you’ll learn what the pros know—and the secrets to using these tools effectively, so your projects sound polished and competitive.
🔍 What Is Limiting and Clipping?
Although limiting and clipping are unique concepts, you can think of both as aggressive types of compression.
But here’s a helpful way to visualize them:
- Limiting is like compressing a banana so it fits into a certain shape. You still keep all the banana—though it might be squashed or broken up.
- Clipping is like slicing the top off the banana to make it fit, discarding what doesn’t fit.
In audio terms:
- Limiting attenuates the peaks while preserving signal integrity.
- Clipping sets a ceiling and chops off everything beyond that threshold.
Because of this, clipping is usually more aggressive and destructive than limiting.
Still, both reduce the dynamic range of your audio.
🎯 Why Do We Use Them?
While you could use limiters and clippers during mixing, they’re primarily used in mastering.
Why?
Because mastering has one big challenge: making tracks loud enough to compete with other masters.
This need—commonly called the loudness war—pushes engineers to maximize volume, even at the cost of dynamics. Whether this is good for music is debatable. Audiophiles argue it’s ruining nuance and subtlety. But for the average listener, louder often feels better—and that’s reality now.
If you want your music to stand out on Spotify or any streaming platform, you need to play by those rules.
🛠️ Should You Use a Limiter or a Clipper?
You might wonder: Should I choose one or the other? Or both?
The short answer: Both can be useful if you know why you’re using them.
Limiters and clippers each have strengths:
- Limiters reduce peaks in a more transparent way, minimizing audible artifacts.
- Clippers are great for taming rogue transients quickly and adding consistency.
One common approach:
- Clipper first – Trim harsh peaks to ease the workload of the limiter.
- Limiter second – Smooth everything out and bring up overall loudness.
Alternatively, some engineers prefer:
- Limiter first – Gently compress the peaks.
- Clipper last – Add final punch and character.
There are no hard rules here—your ears decide what works best.
🎵 A Practical Example
Imagine you’ve finished mastering a track. It sounds balanced and cohesive, but it is still relatively dynamic – when compared to other songs on Spotify, it might feel quieter by at least 1 dB.
Here’s how you could tackle it:
Step 1: Start with a Limiter
- Use a fast attack to catch transients.
- Leave release on automatic (or tweak it for the feel you want).
- Push the threshold until you achieve subtle gain reduction—avoid audible pumping.
If needed, consider stacking two limiters rather than slamming one.
Step 2: Add a Clipper
- Soft clipping is preferred over hard clipping—more natural and musical.
- Set your ceiling.
- Drive the signal until the peaks are trimmed.
Step 3: Finish with a Final Limiter
- This last step evens out remaining dynamics.
- Apply gently—listen critically to avoid artifacts.
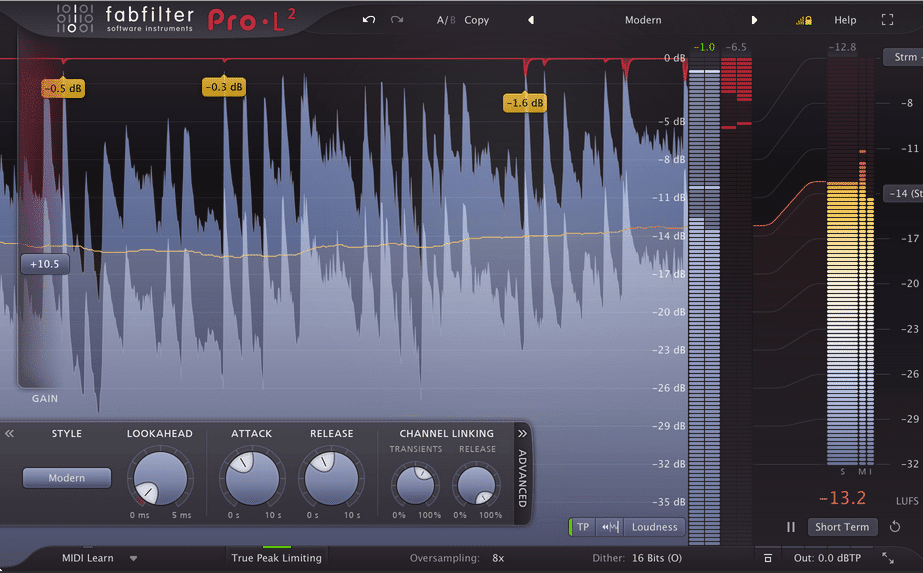
🎚️ Comparing Results
After processing, you’ll likely see a much denser waveform. The peaks are tamed, and the loudness meter shows an increase in perceived volume.
Even if the LUFS reading is identical to your earlier version, the clipped and limited master can sound noticeably louder and more impactful—because you’ve reshaped the transients and made better use of headroom.
🚀 The Takeaway
Limiters and clippers are powerful tools. Used properly, they:
- Make your masters louder and more competitive.
- Help your music hold up next to commercial releases.
- Ensure consistency across platforms.
Used poorly, they can destroy your dynamics and add distortion.
The key is balance and critical listening. Test different workflows, and trust your ears more than your meters.
Thanks for reading—if you’d like more mixing and mastering insights, or you’re ready to elevate your next project, contact me today.
No responses yet